I've been the owner of a modded PAL Sega MegaDrive (Genesis in the US) for a few months and am very happy with it. When you have a modded MD, you can choose the display frequency (50/60Hz) and language (english/japanese). These two choices form three region-specific settings: Europe, US and Japan. There is one unused combination. A lot of tutorials show you how to get the job done using two switches, but there's also this neat one switch solution on mdpal60.net.
Very recently, I've purchased a PAL SNES. Since I wanted to be able to play on 60Hz on the SNES as well, I went looking for a mod again. Similarily to the MD, there are two options that provide two choices. The first is the display frequency (50/60Hz) and the second is whether or not to enable the region lockout chip. The latter option is only needed for playing non-PAL games, which you can do once you're running on 60Hz. Some games however have a check builtin and won't work when the lockout chip is disabled. That is why you want to control this setting as well.
The vast majority of the mods I found require two switches. I have seen a solution where a chip from a PAL game cartridge is hooked up inside the SNES to fool it into always thinking there's a PAL game attached. This would require only one switch but I wasn't comfortable with that mod as I've read it doesn't cover 100% of the games either and I like having the option of going to a stock configuration.
Let's take a look at the four possibilities that these two options provide:
- 50Hz, lockout enabled
- 50Hz, lockout disabled
- 60Hz, lockout enabled
- 60Hz, lockout disabled
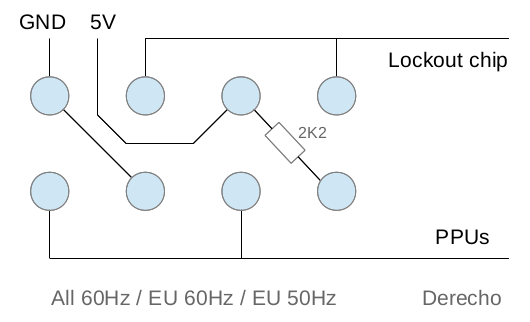
Scenario two seems to be unnecessary to me; you're only going to run PAL games on 50Hz and they will work with the lockout chip enabled since you have a PAL SNES. So we can get rid of that possibility. Now this is beginning to look a lot like the MD mod, perhaps we can use a single three-state switch here as well?
I've used the following two pages for research:
After reading these, I've come up with the following diagram which uses a double pole three state switch:
The mod
Confident that my plan would work, I began working on my SNES the next day. While I've had a few years of soldering experience, getting the IC pins off the PCB still proved to be challenging. You have been warned. I ended up with my SNES working in one go and below I'll show you how I've done it.
Before you begin taking apart your SNES, please make sure you know what you're doing and discharge the SNES by turning it on after it has been disconnected from the power.
I won't go over the specific details of how you should solder wires to the necessary pins on the IC's, mmmonkey.co.uk covers this really well already. Follow that guide to get your wires to the ICs sorted but skip the parts that involve the switches. You should end up with the following four wires:
- PPU1 pin 24 & PPU2 pin 30
- Lockout chip pin 4
- 5V (O of 7805)
- GND (G of 7805)
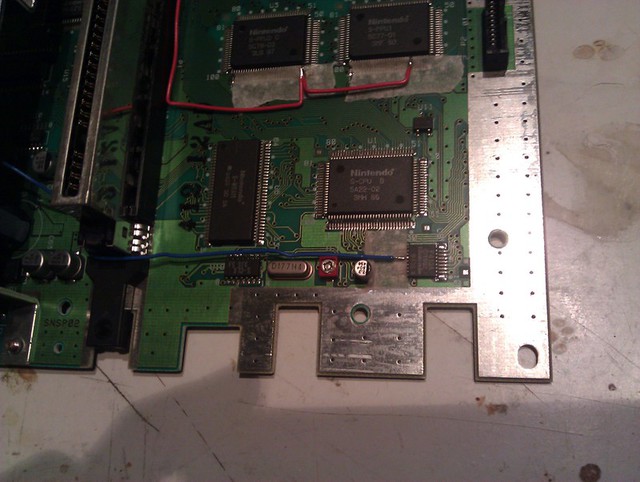
Here is how my SNES looked after having attached the wires to the chips:
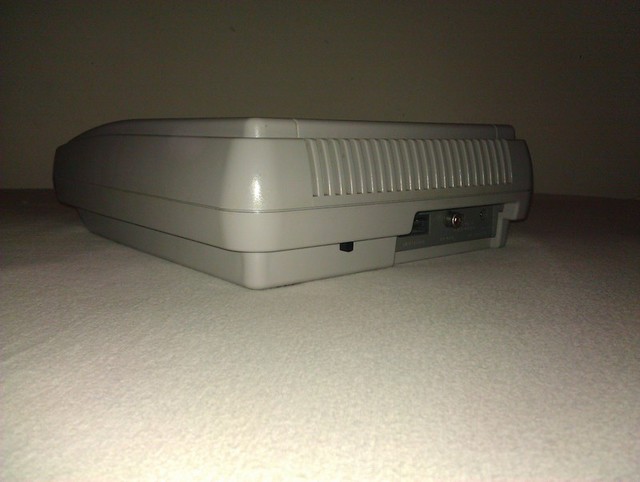
Now find a nice spot for the switch, I put mine on the back. Make the necessary holes in the SNES case and screw/glue your switch in place. In the diagram, a jumper wire and a resistor cross the two different poles of the switch. I soldered these first, as you can see here:
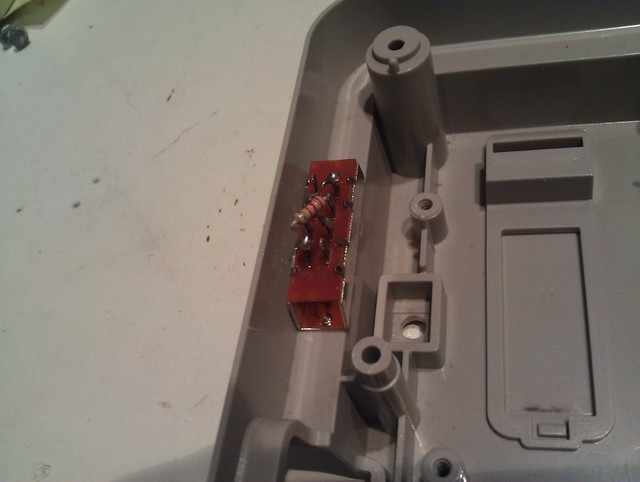
Continue by soldering the four wires that you've prepared to their appropriate pins on the switch:
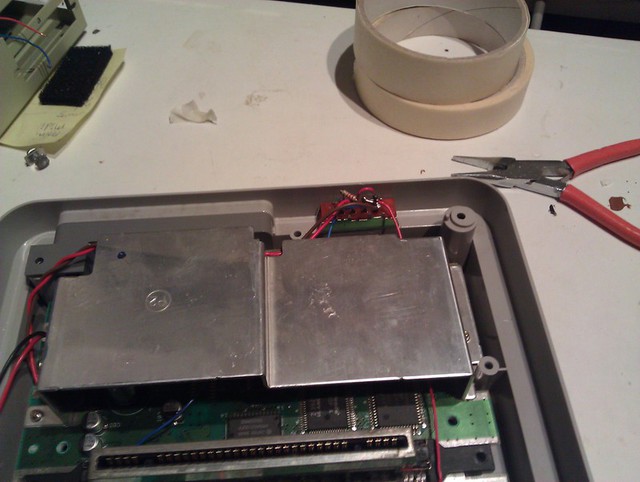
And that's it! You can test your SNES out before assembling it back toghether, but do it with caution as the PCB is not well secured at this point. Don't touch any components either.
PAL vs NTSC
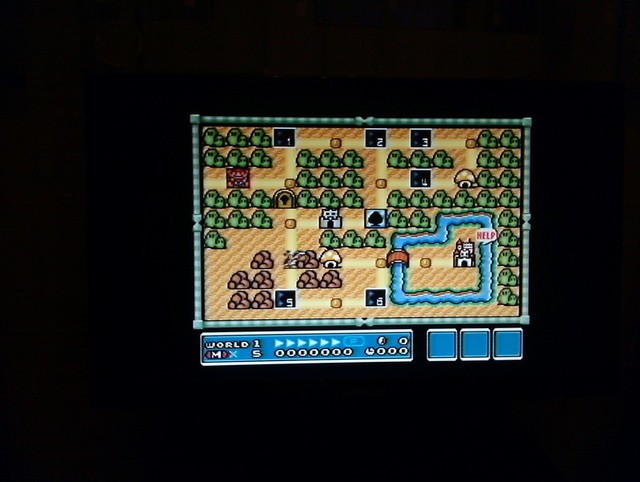
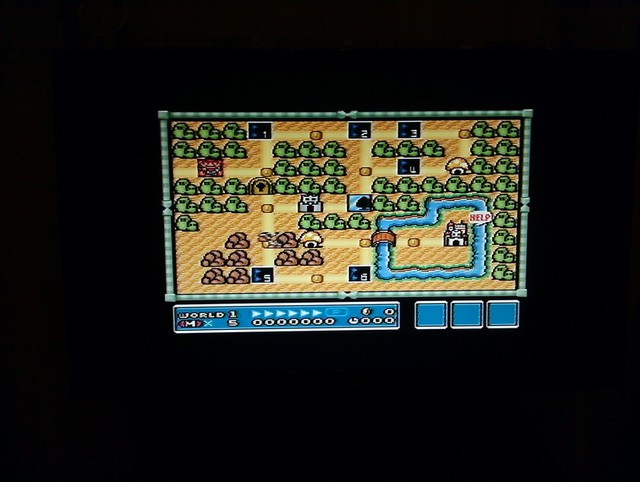
Running games on 60Hz also gets rid of that ugly border on the top and bottom of the image, as I show you below. Game running on 50Hz (PAL):
After switching to 60Hz (NTSC) while the game is running: